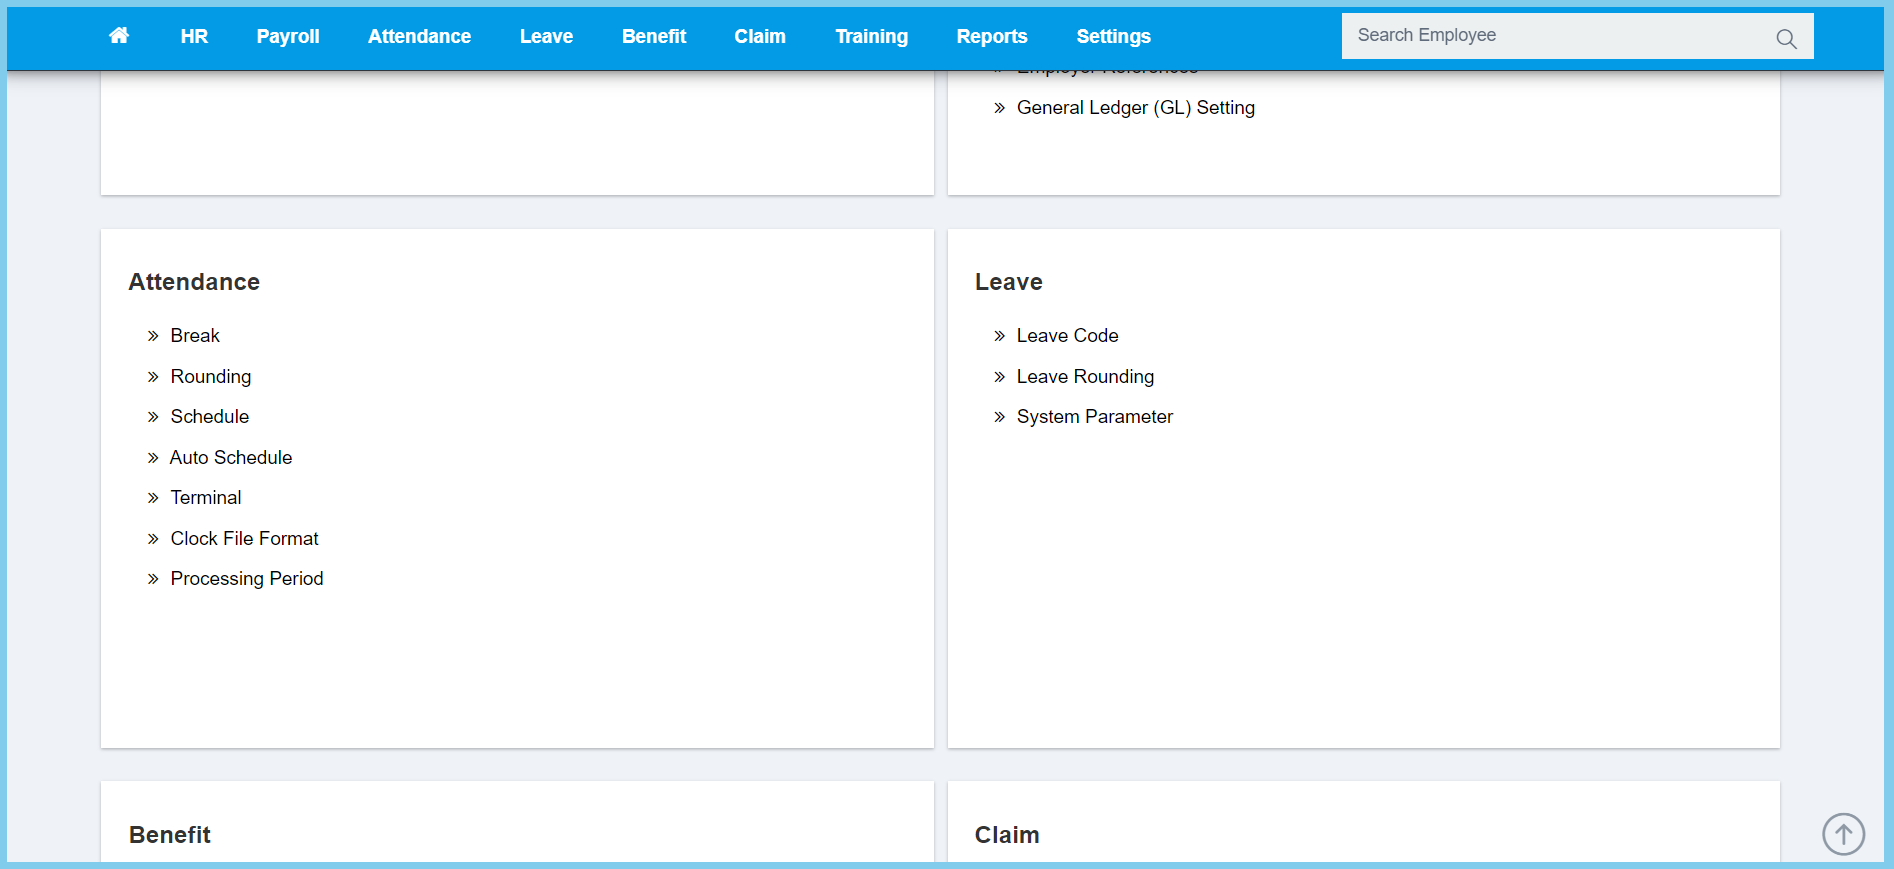
1. Menu: Click Settings.
2. Click Schedule which located under Attendance.
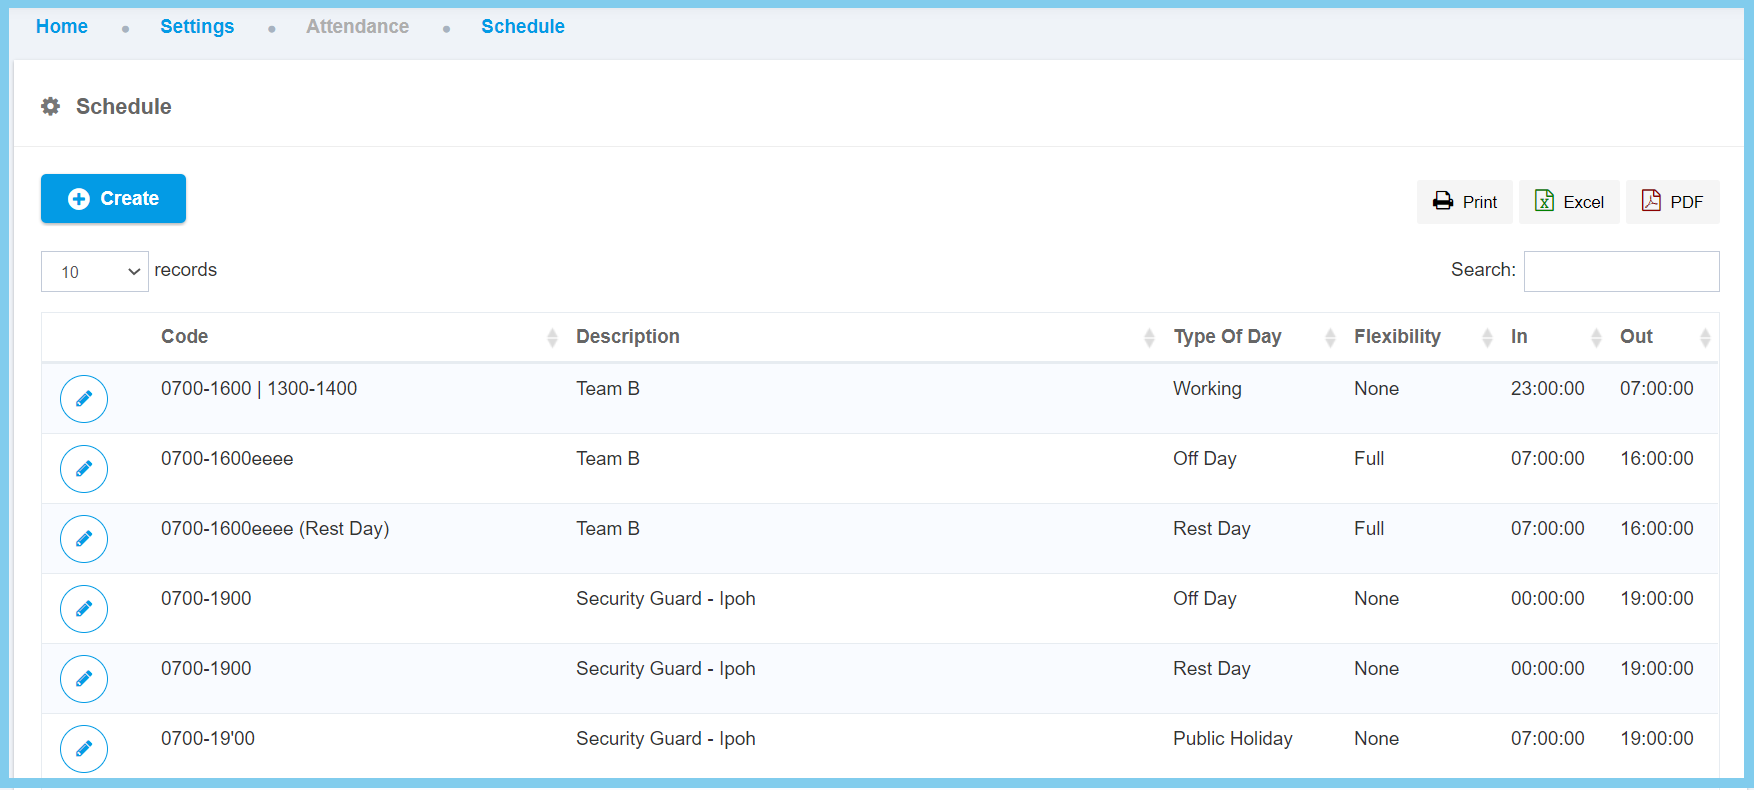
3. Click edit button on which schedule that you wish to edit.
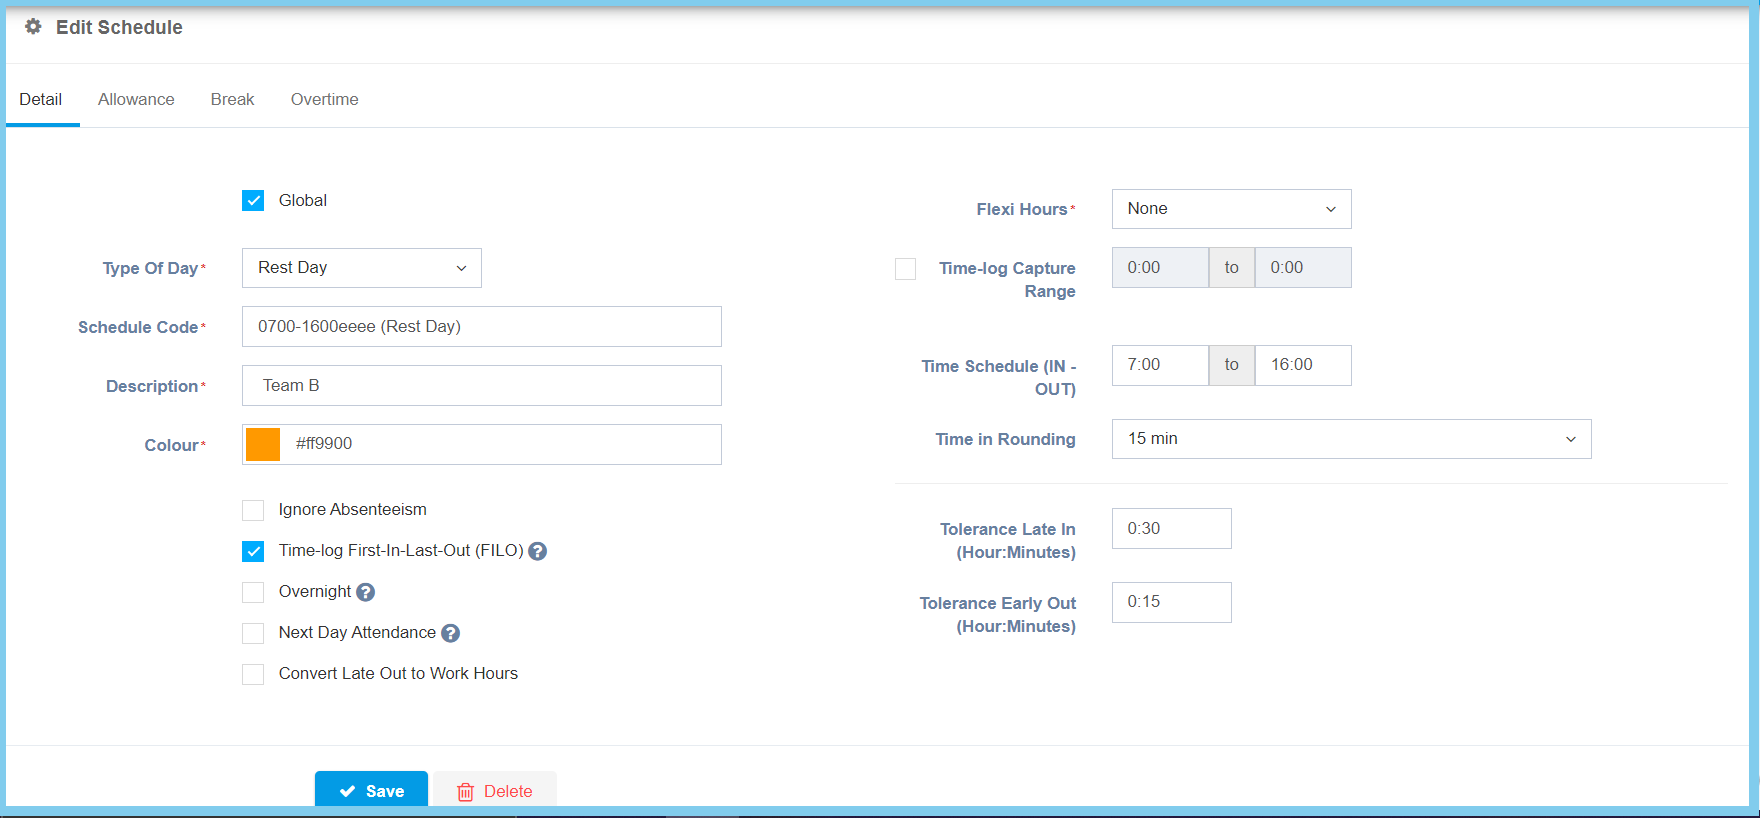
4. Edit the form.
Note: There has 4 sections to edit.
| Option | Allowed Values | Dscription |
|---|---|---|
| Global |
|
If global is enabled, the code will be visible from other companies. If not, it can only be used by its own company. |
| Create all type |
|
If enabled, it will create 4 types of schedule which is working, off day, rest day and public holiday. |
| Type Of Day |
|
Set the type of day which this schedule will apply in:
|
| Schedule Code | Any alphanumeric | To set simple and unique code to define schedule code. |
| Description | Any alphanumeric | Any description about this schedule code. |
| Color | RGB colors | Set the exact color for background text to highlight on calendar. |
| Ignore Absenteeism |
|
If enabled, it will ignore those employee who absent on this schedule work day. |
| Time-log First-In-Last-Out (FILO) | Time format HH:MM | If enabled, the system will capture the first-in and last-out time-log only. |
| Overnight |
|
If enabled, it will be used when the night shift start time is 00:00. |
| Next Day Attendence |
|
Only affect to cross day night shift. For example, if YES attendance date 1/1/2019 time range will be 31/12/2018 to 1/1/2019. Else, 1/1/2019 to 2/1/2019. |
| Convert Late Out to Work Hours |
|
If enabled, the late out time will convert to work hours. |
| Flexi Hours |
|
Apply a flexi hours in the schedule created, there has three option to be selected:
|
| Time-log Capture Range |
|
If enabled, set the start time and end time with time format HH:MM. The system will capture the time-log range that been set. |
| Flexi Time In | Time format HH:MM | Set the start time and end time for the time in. Employee can time in at anytime but must in the duration of time in that has been set. |
| Time in Rounding | Setup from rounding | To select a rounding method for calculate the time.
Click here to view setup. |
| Work Hours | Time format HH:MM | Set the time value for the duration of working hours. |
| 1st Half Range | Time format HH:MM | Set the start time and end time to conclude the range for working in first half day only. |
| 2nd Half Range | Time format HH:MM | Set up start time and end time to conclude the range for working in second half day only. |
| Half Day Work Hours | Time format HH:MM | Set the time value for the working hours time which work in half day. |
| Include Break in Half Day |
|
If enabled, it will include break time in working hour on half day working. |
| Tolerance Late in (Hour:Minute) | Time format HH:MM | Set the time value that can allow the late in of how many hours and minutes for employee. |
| Tolerance Early Out (Hour:Minute) | Time format HH:MM | Set the time value that can allow for early out of how many hours and minutes for employee. |
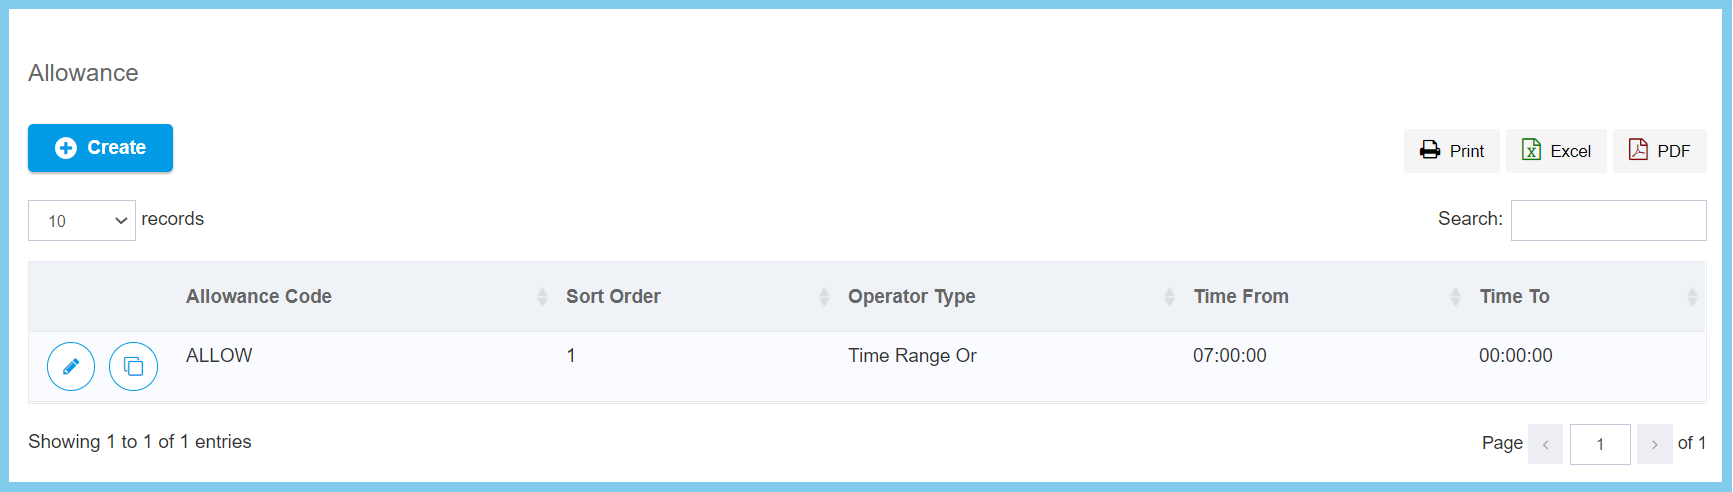
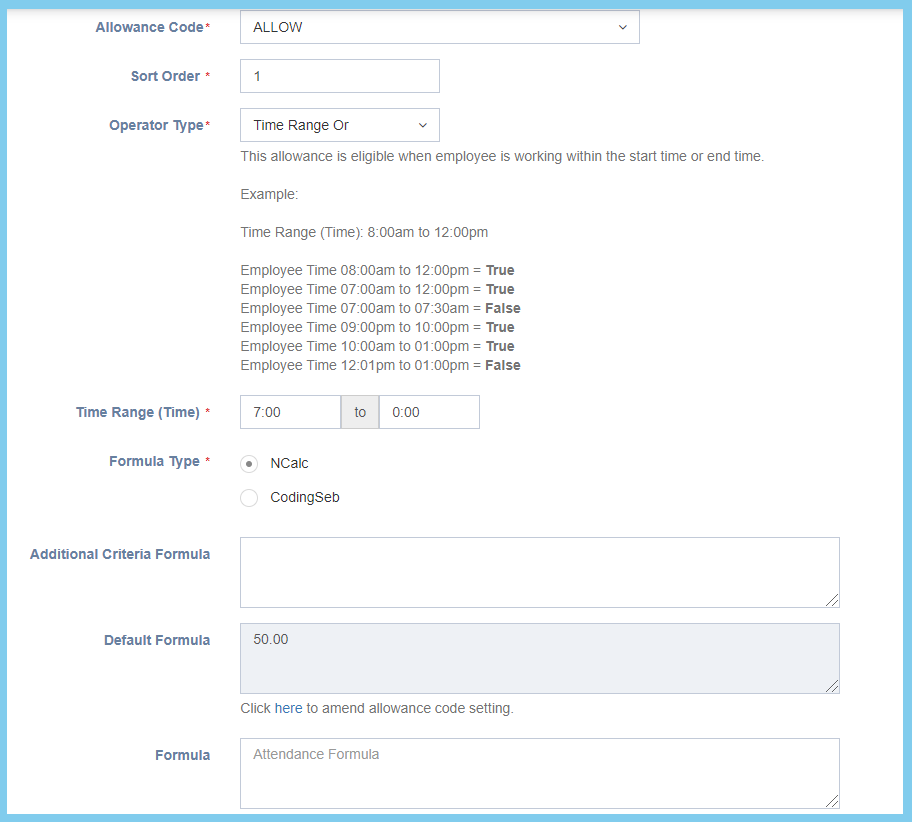
For Allowance, you can choose either create a new allowance or edit the previous record.
| Option | Allowed Values | Description |
|---|---|---|
| Allowance Code | Setup from transaction code | Select a transaction code for allowance code.
Click here to view setup. |
| Sort Order | Any number | Set for reporting order purpose. |
| Operator Type |
|
|
| Time Range (Time) | Any number | Set the time range for the allowance. |
| Formula Type |
|
Refer to formula page. |
| Additional Criteria Formula | Any alphanumeric | Refer to formula page. |
| Default Formula | Any alphanumeric | Refer to formula page. |
| Formula | Any alphanumeric | Refer to formula page. |
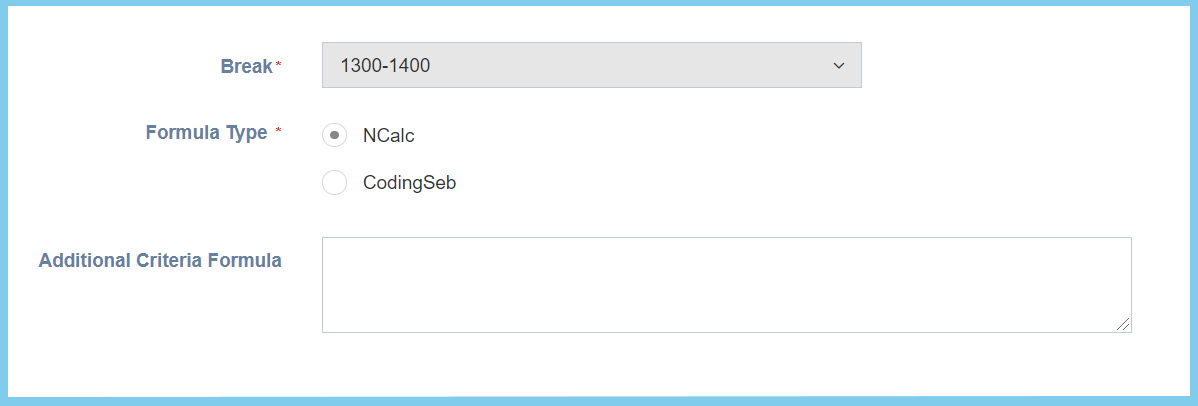
For Break, you can choose either create a new break or edit the previous record.
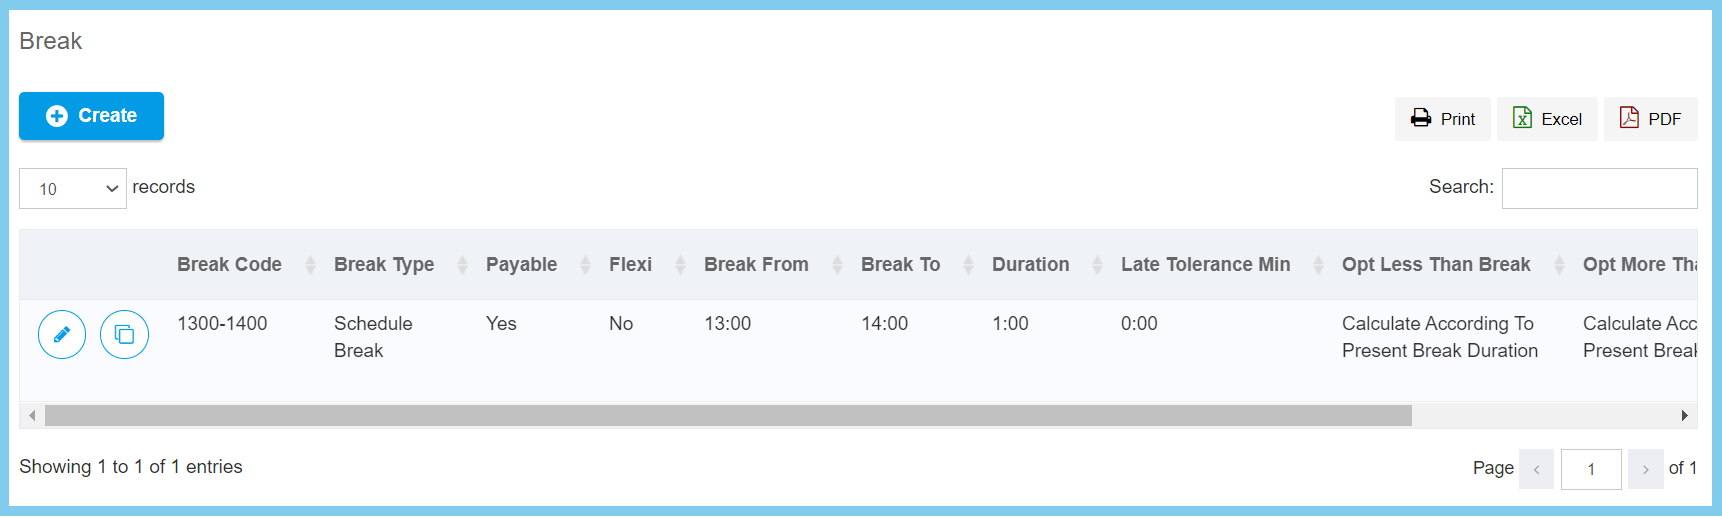
| Option | Allowed Values | Description |
|---|---|---|
| Break | Setup from break | Choose the break time from break list.
Click here to view setup. |
| Formula Type |
|
Refer to formula page. |
| Additional Criteria Formula | Any alphanumeric | Refer to formula page. |
For Overtime, you can choose either create a new overtime or edit the previous record.
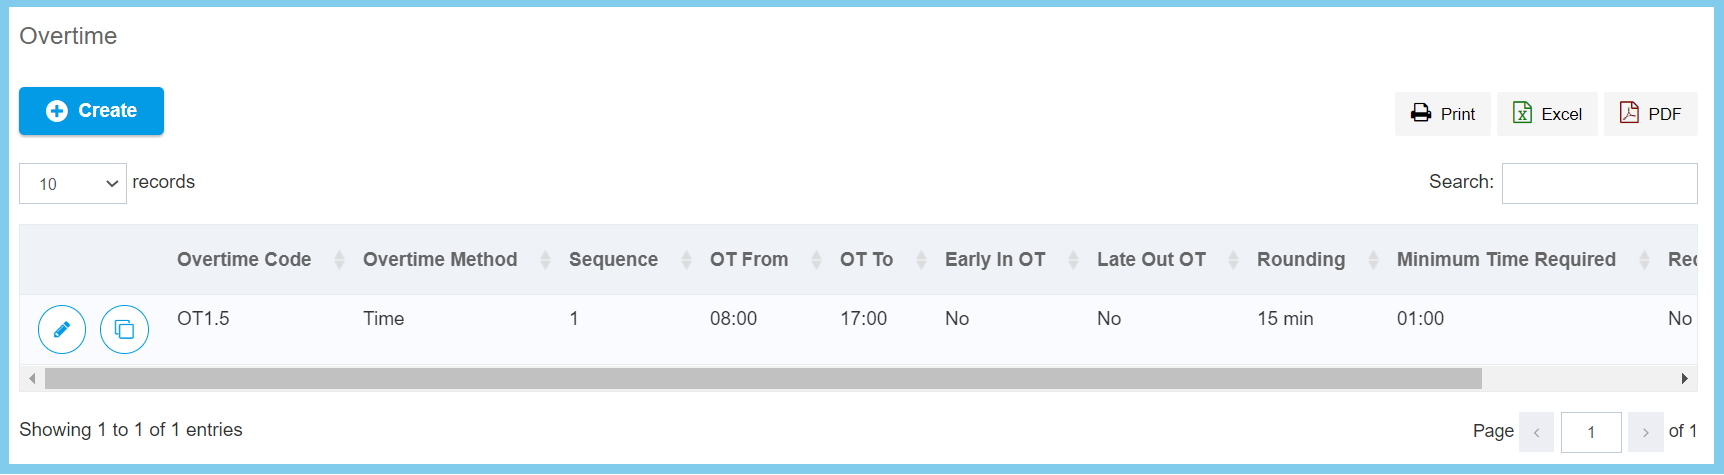
| Option | Allowed Values | Description |
|---|---|---|
| Require Overtime Application |
|
If enable, it need to require an overtime application. Else, no need to require an overtime application. |
| Overtime Code |
|
Select an overtime code from overtime code list.
|
| Overtime Method |
|
Select the method for counting overtime, either by time or hour. |
| Sequence | Any number | It will affected the overtime calculation sequence. |
| OT Hours Range | Any number | Set the hours range for overtime. |
| Early In OT |
|
If enabled, when an employee early in than the OT hour, it will consider as early in. |
| Late Out OT |
|
If enabled, when an employee late out than the OT hour, it will consider as late out. |
| Setup from rounding | Select the rounding time for overtime.
Click here to view setup. |
|
| Formula Type | Any alphanumeric | Refer to formula page. |
| Additional Criteria Formula | Any alphanumeric | Refer to formula page. |
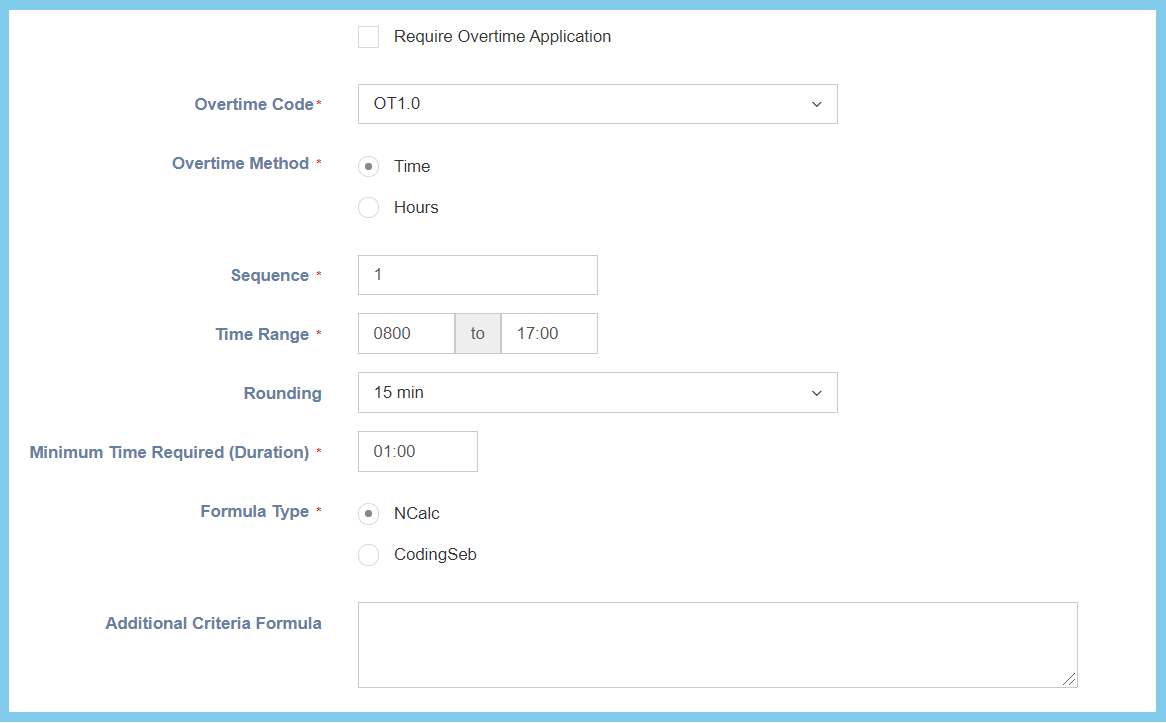
When overtime method has been chosen by Time. The form will show as below:
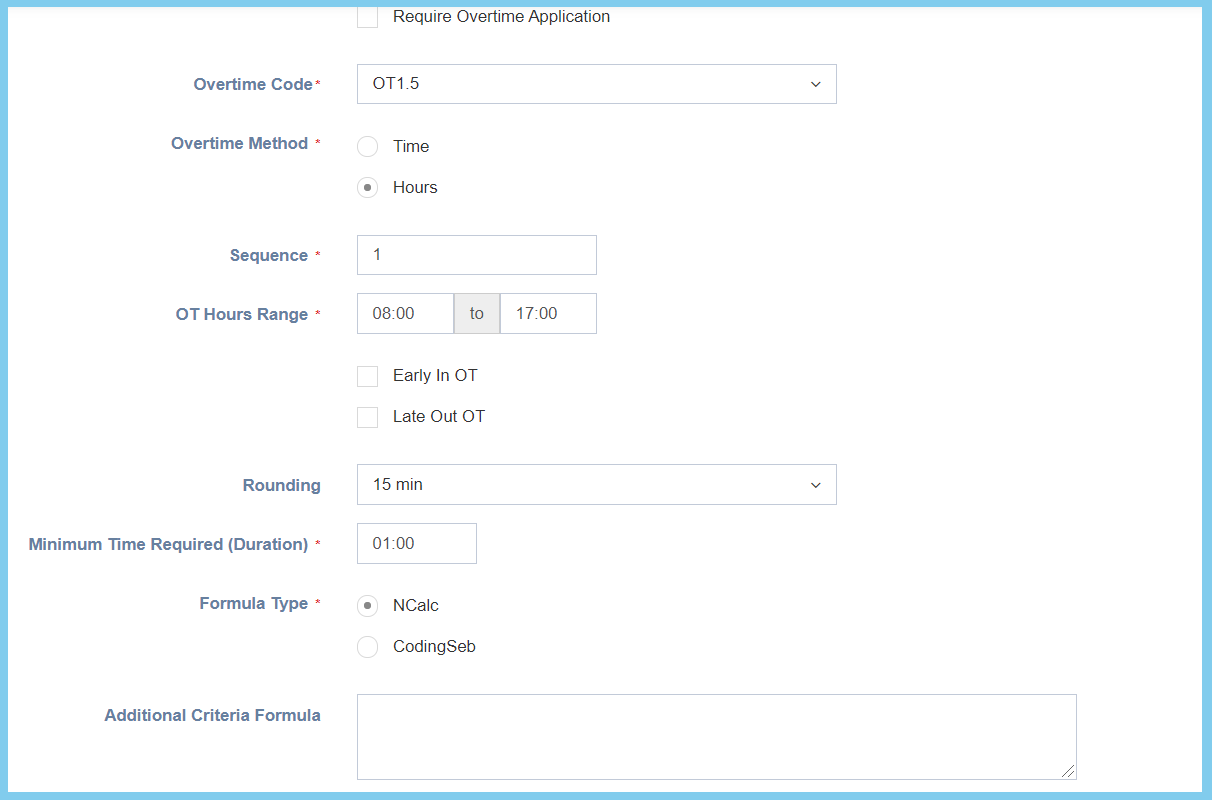
When overtime method has been chosen by Hour. The form will show as below:
5. Back to Detail section.
6. Click Save button.