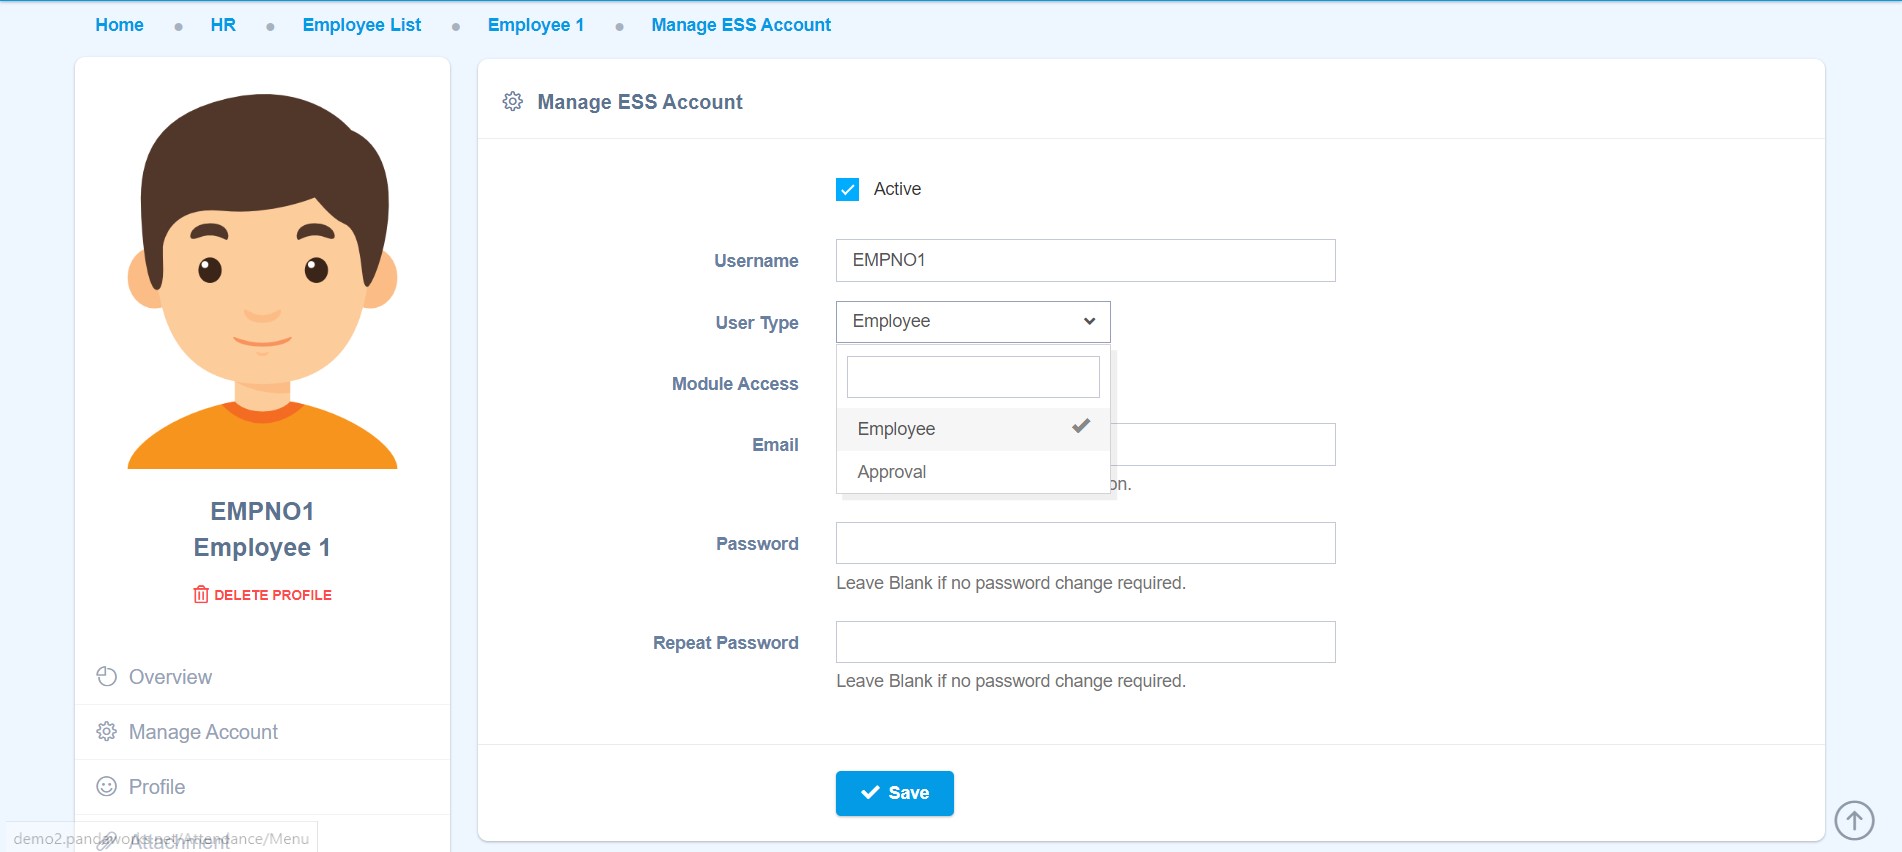
Make sure the user is set under ‘Approval’ type.
-
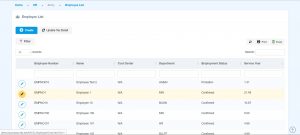
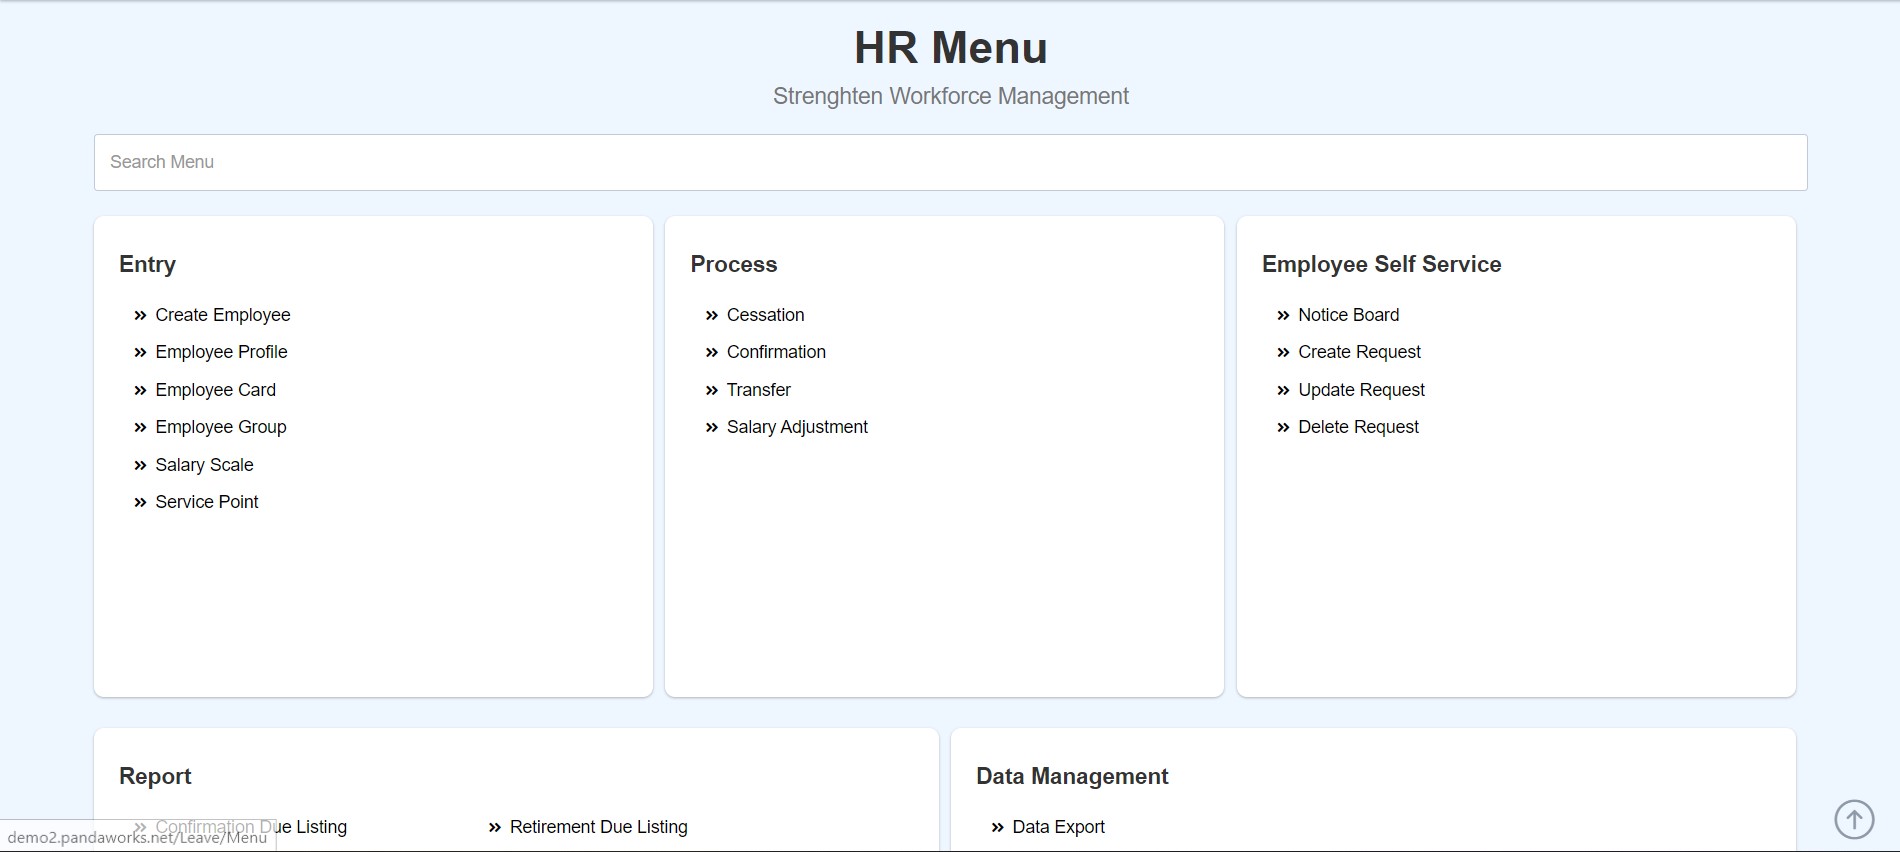
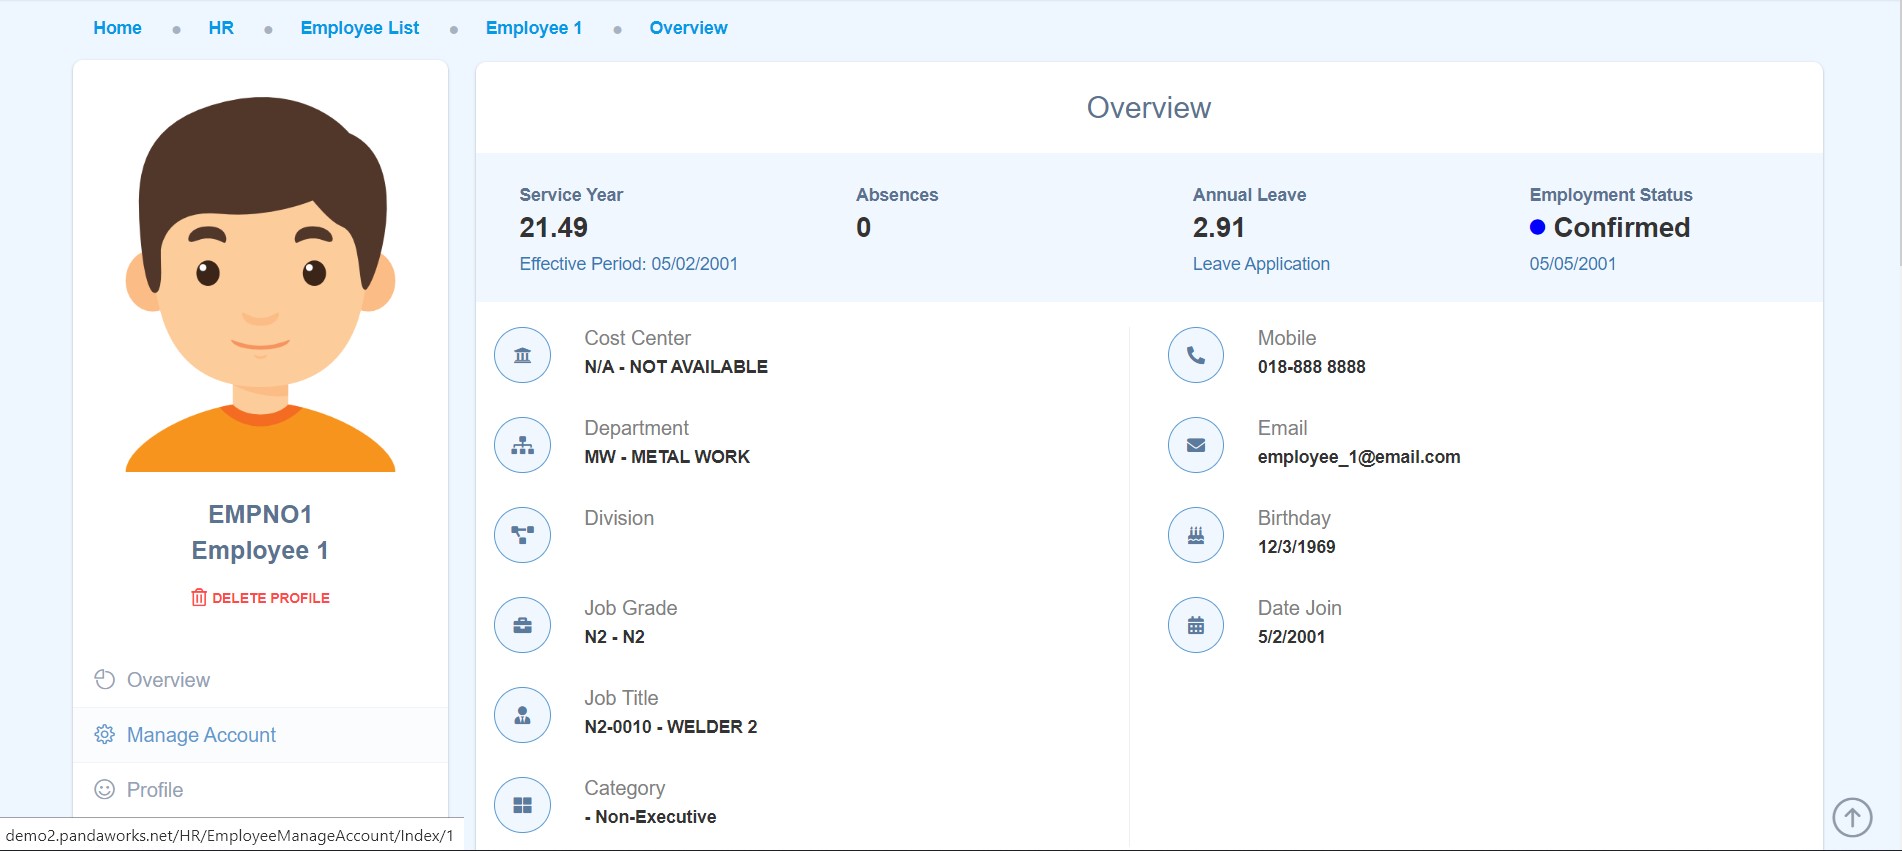
- Click on the HR tab and locate Employee Profile
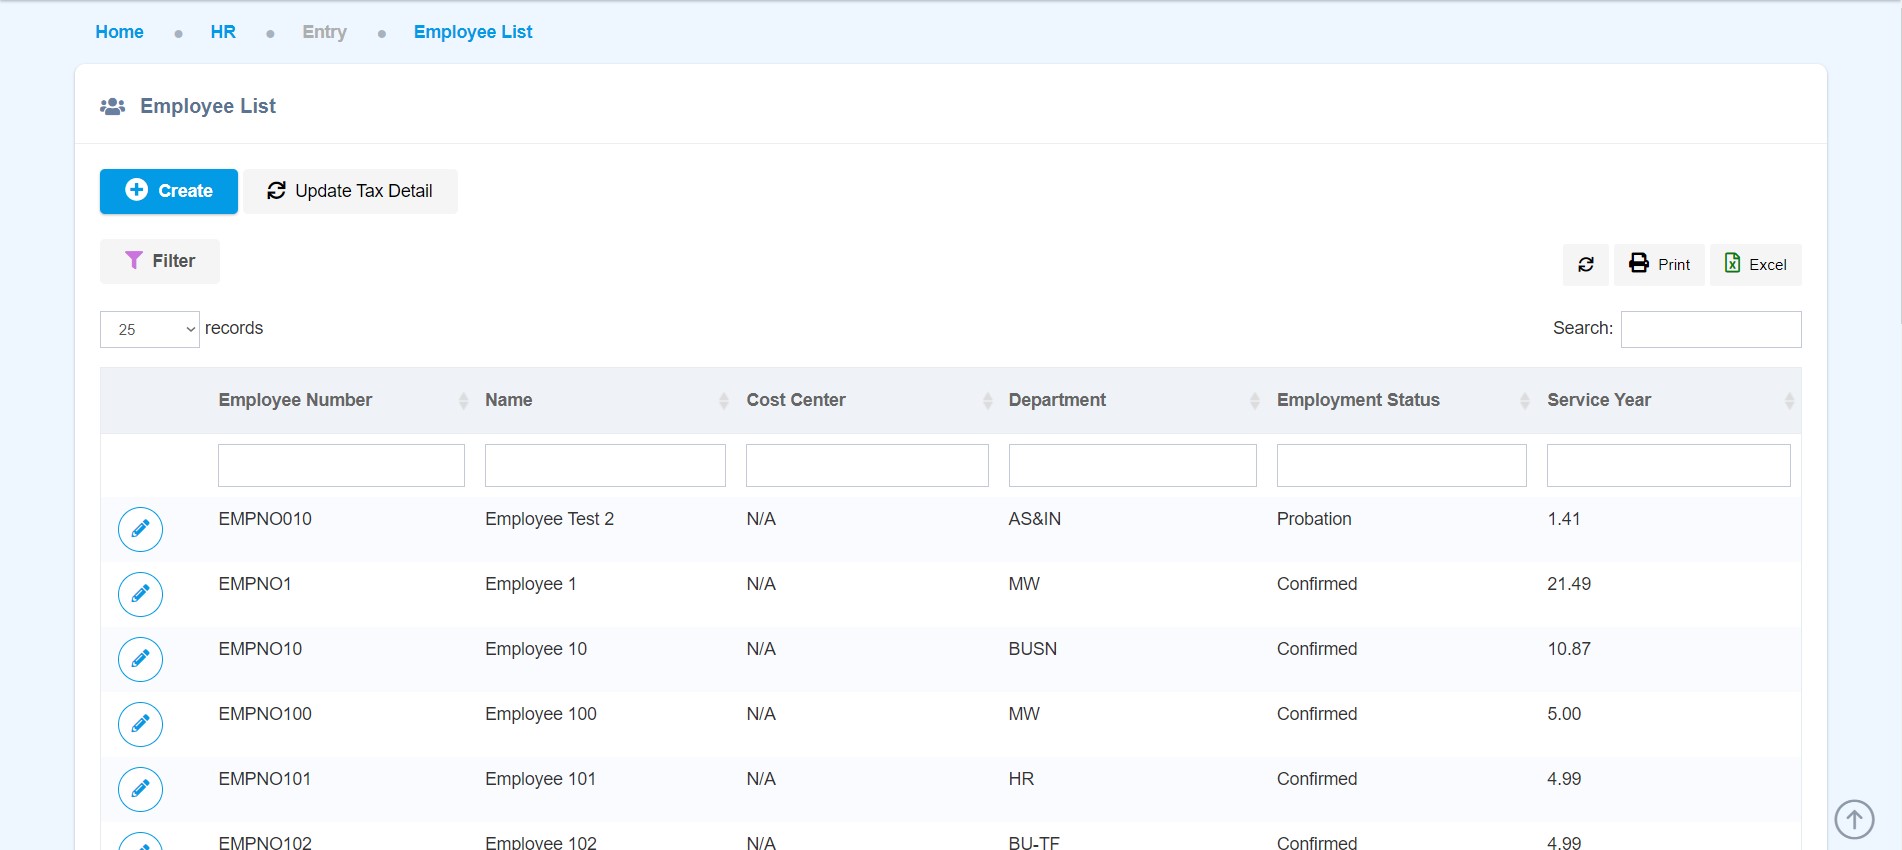
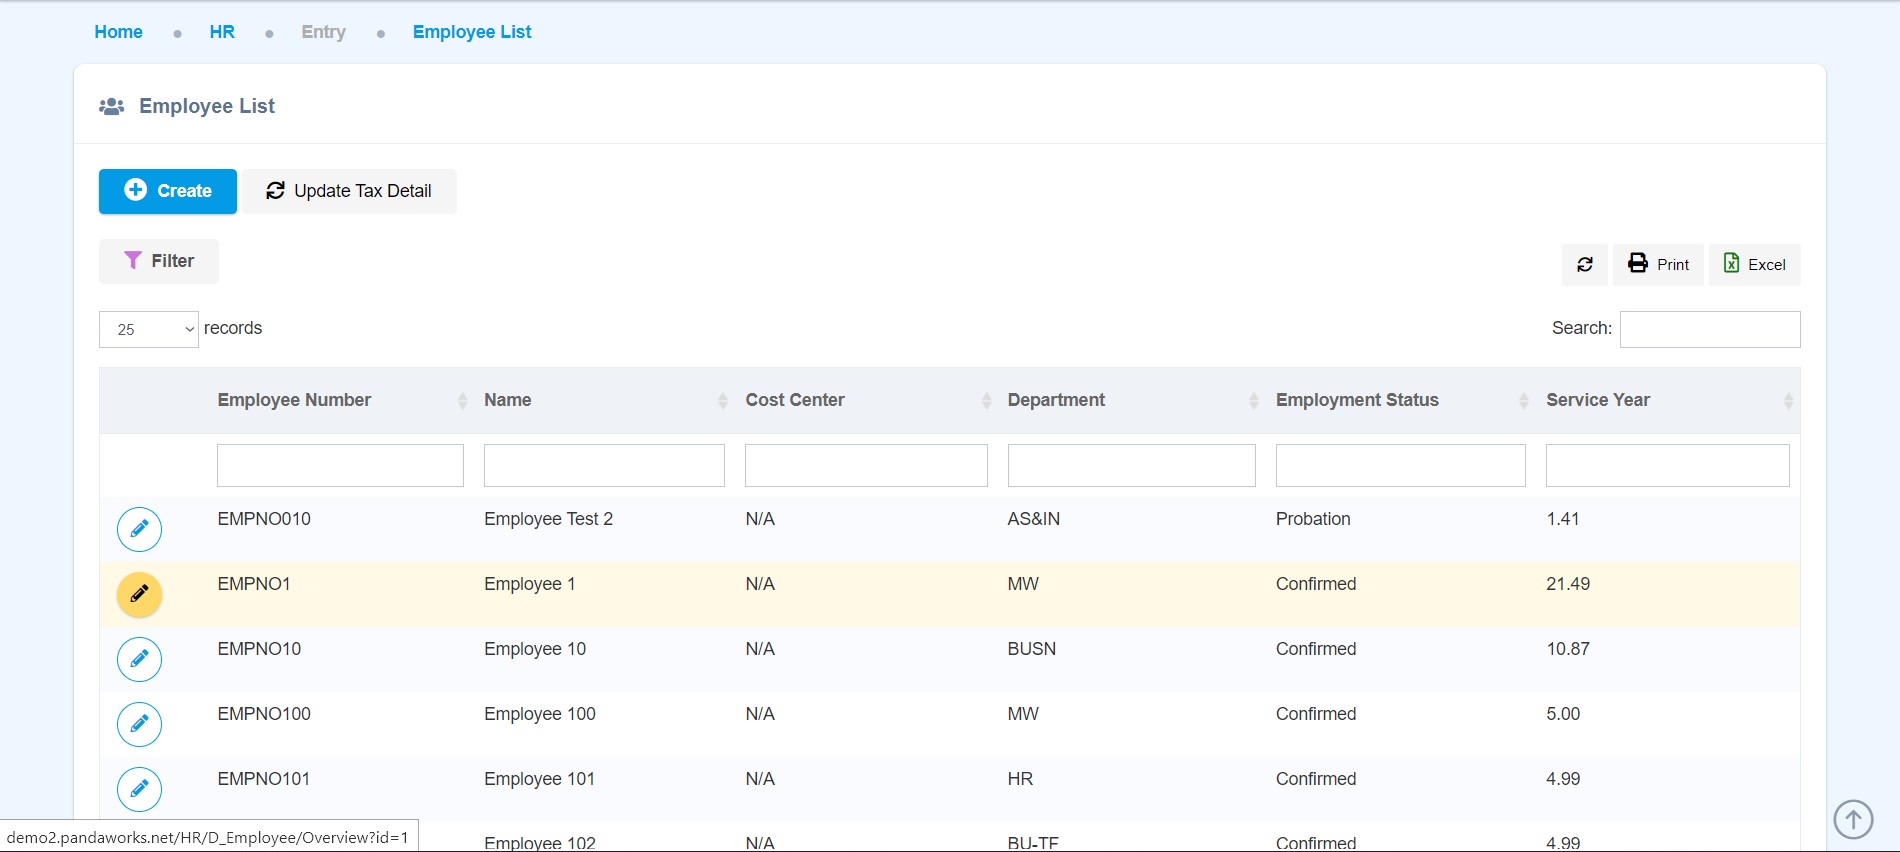
- Once inside Employee Profile, look for the employee.
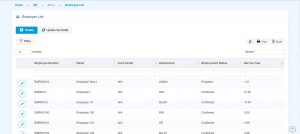
- Click on the edit icon beside the employee.
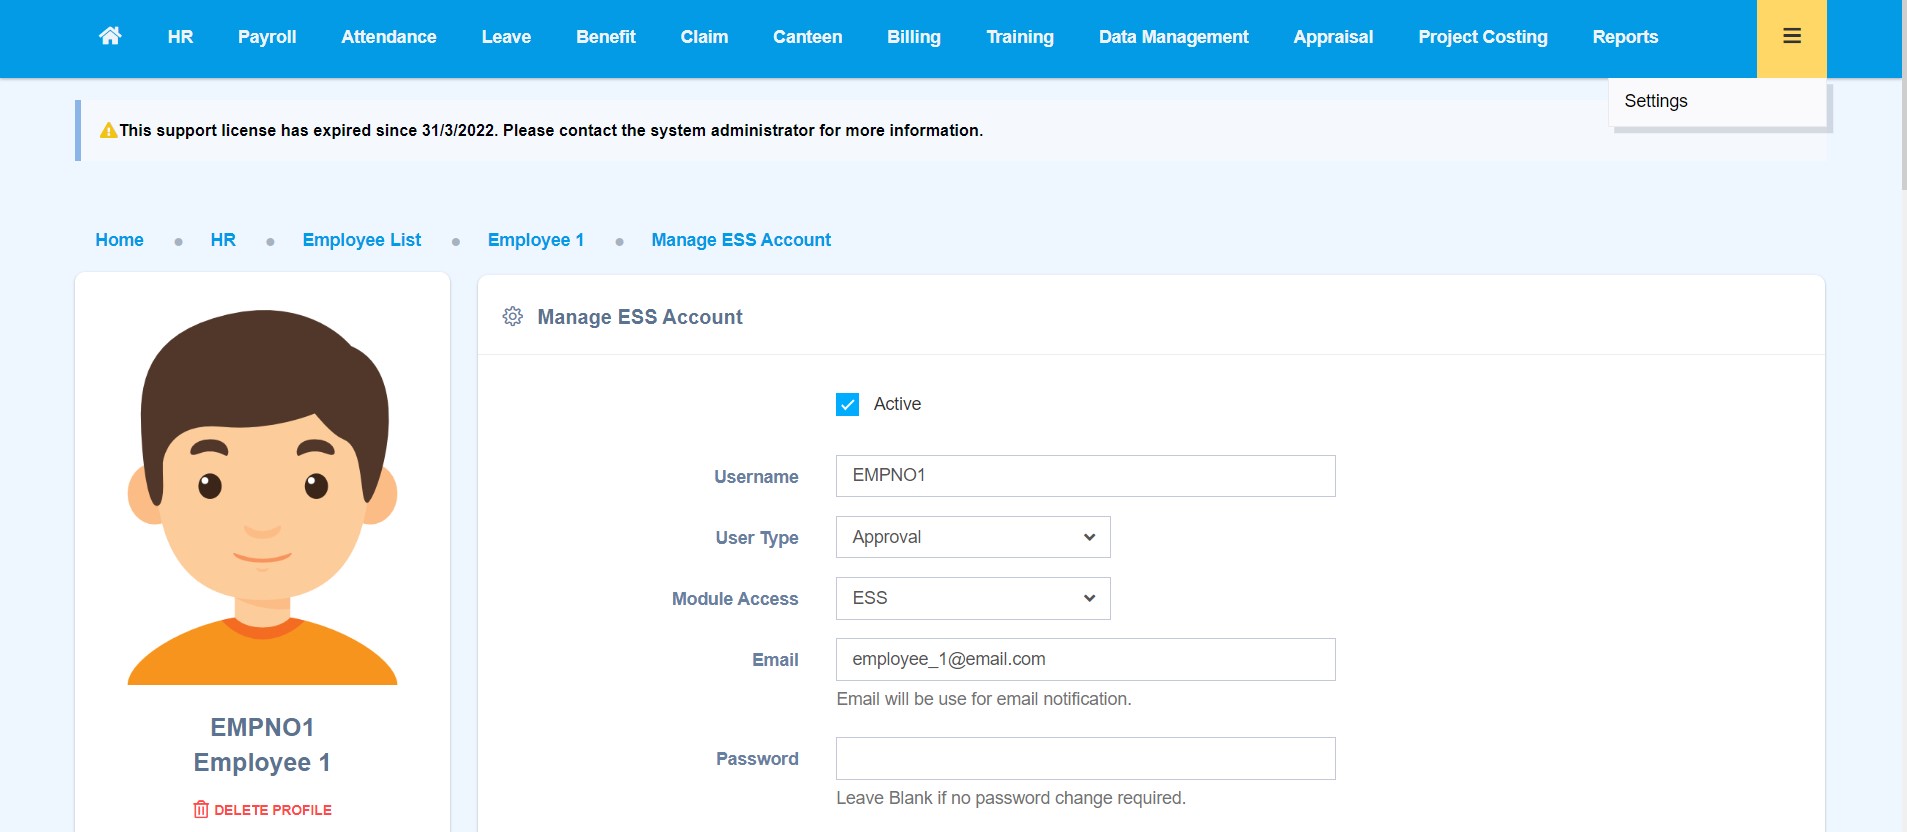
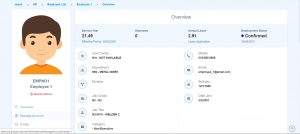
- Next, locate the “Manage Account” sub menu.
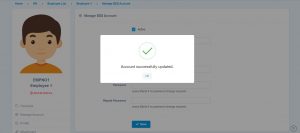
- Change the employee User Type to “Approval”
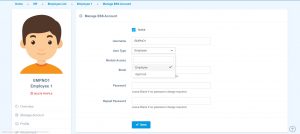
- Click on “Save” and click “OK”
- Click on the HR tab and locate Employee Profile

Set User as approval in Route Setting
-
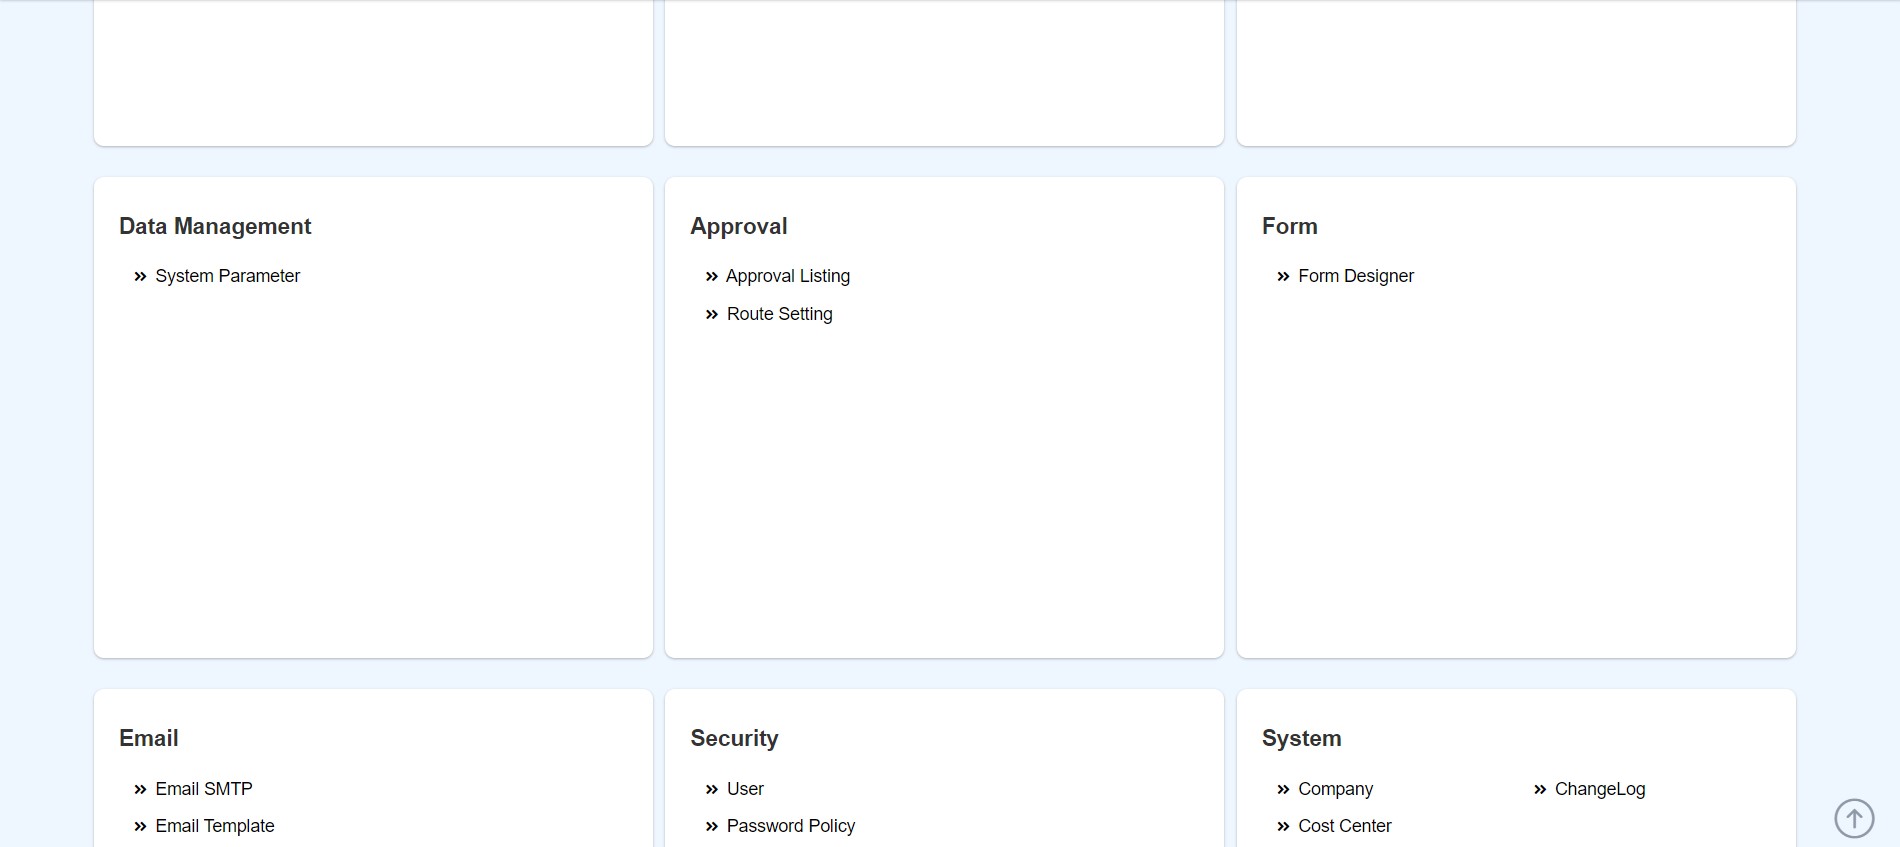
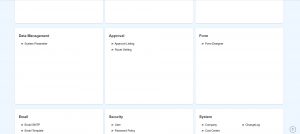
- Locate to Setting at the top right corner

- Once in Settings, locate to “Approval” and click on “Route Setting”
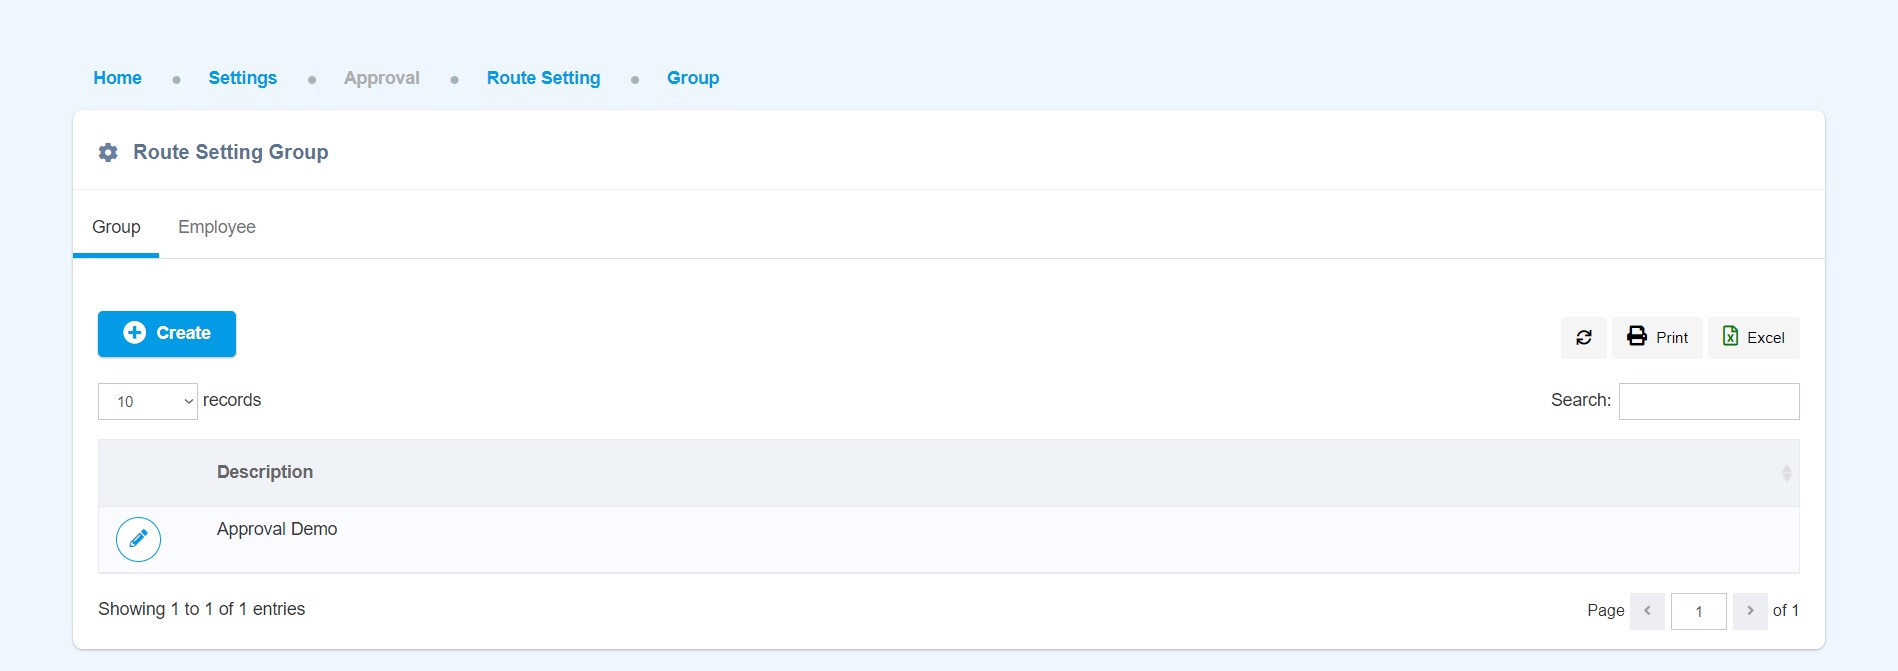
- Locate the designated Route Setting Group, else, click on “Create” to Add a New Route Setting Group.
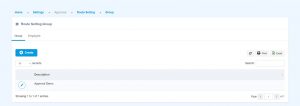
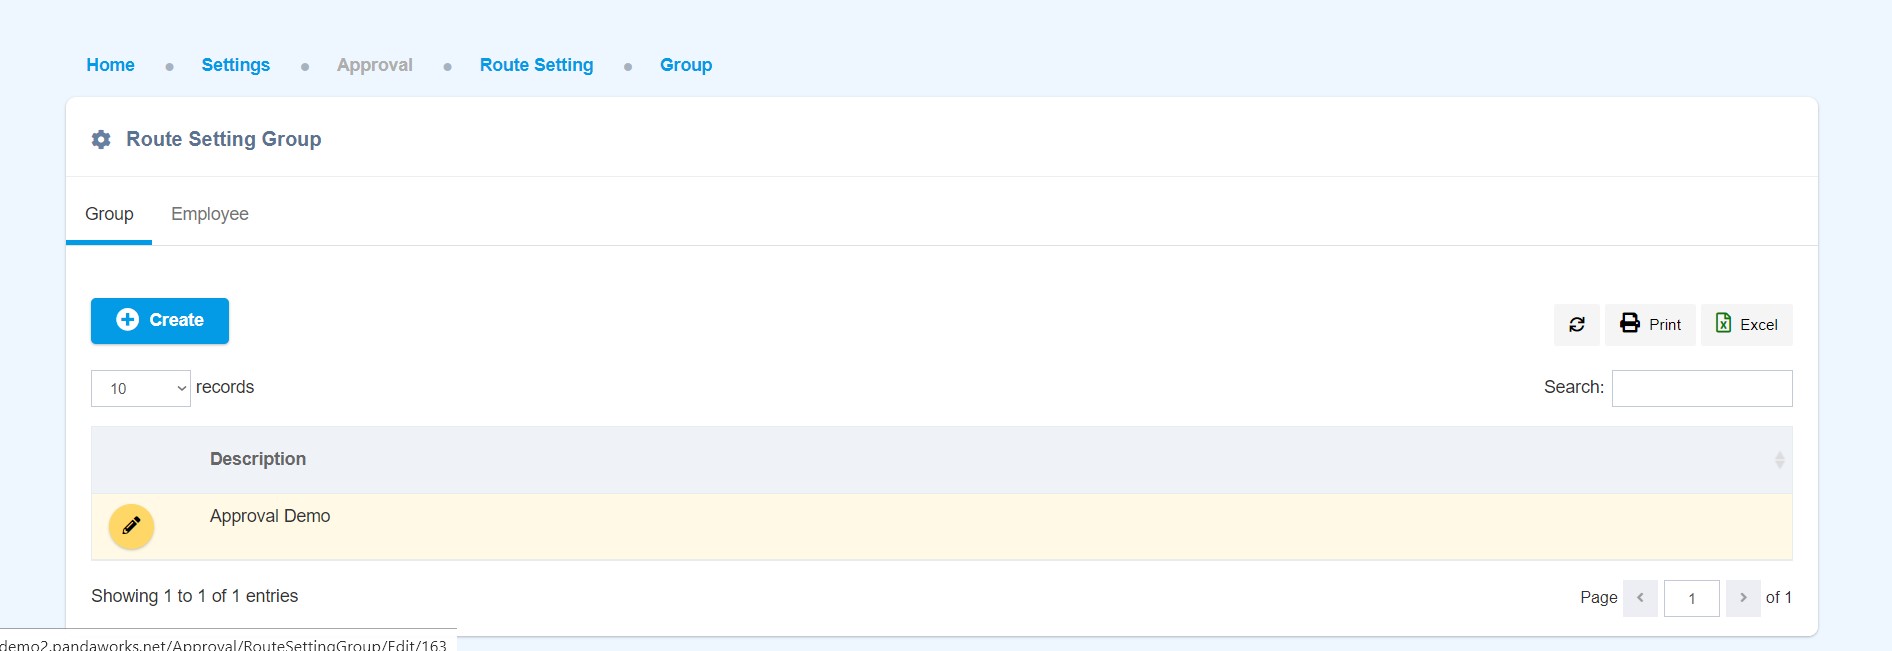
- Proceed to click on the Edit icon of the selected Route Setting Group.

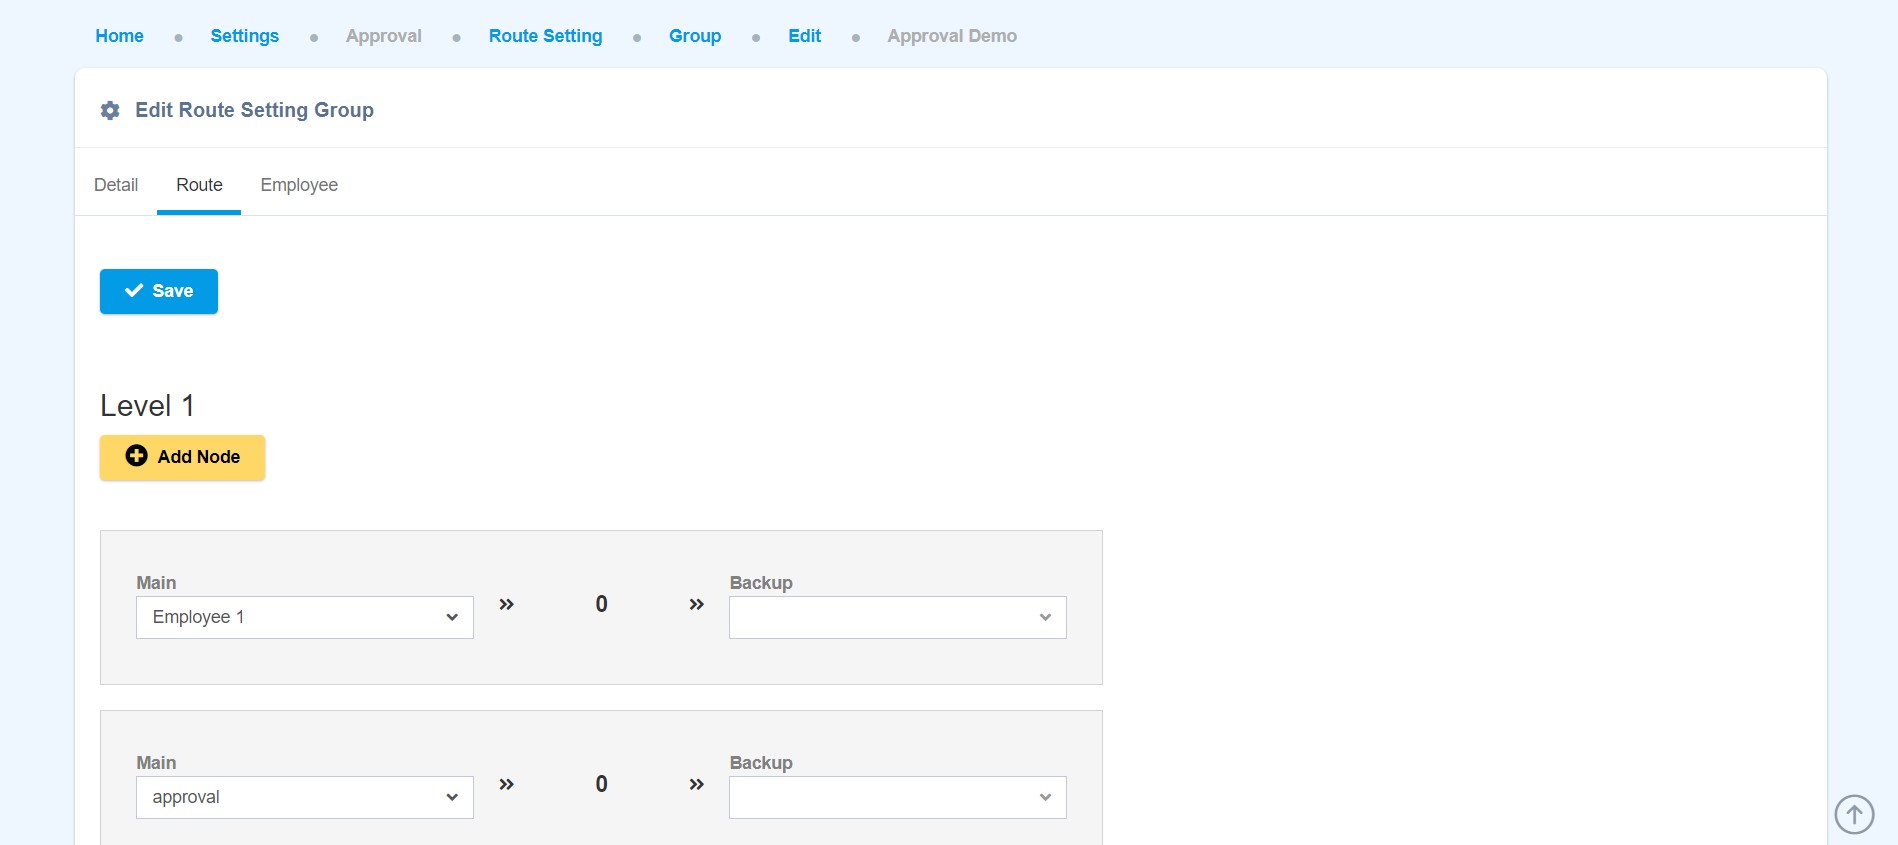
- Inside the selected Route Setting Group, Navigate to “Route” tab.
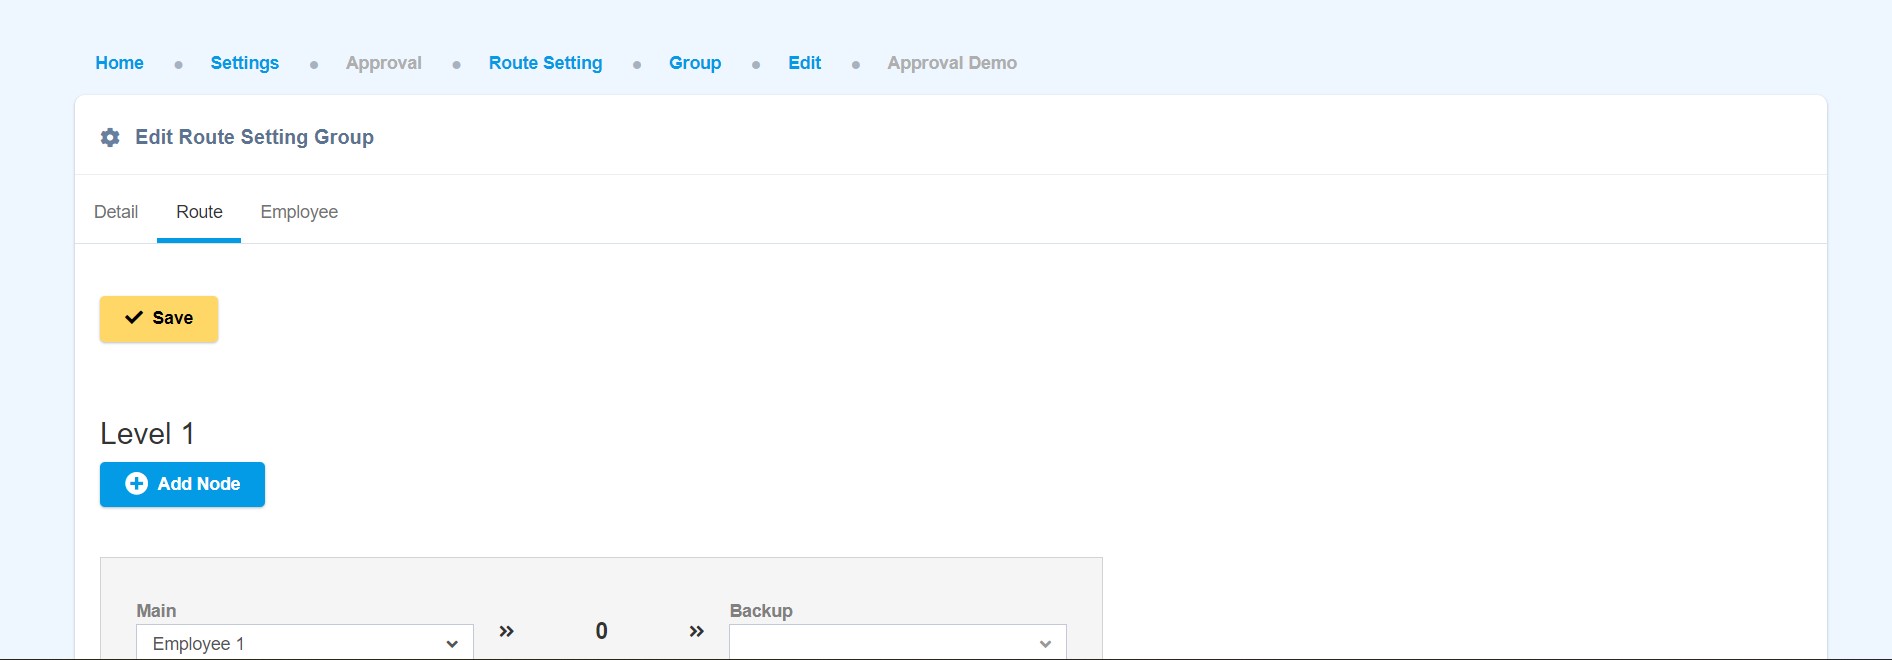
- You may Add Node/Add Level to add the user as approval.
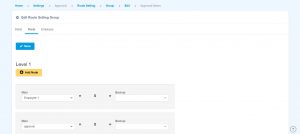
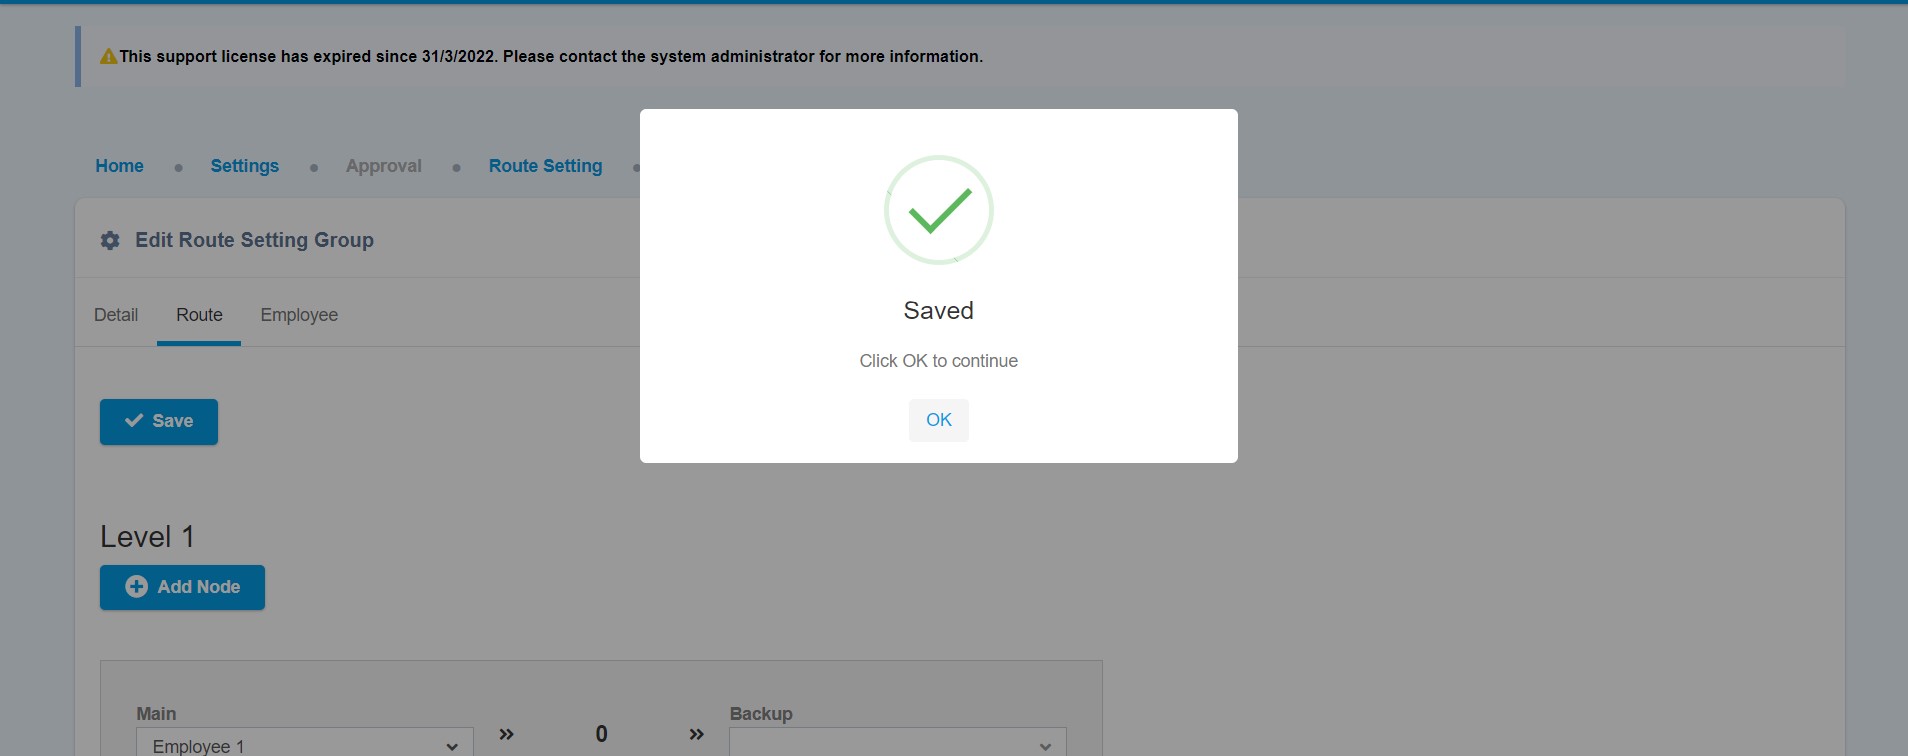
- Once done, click “Save”.

- Then click “Ok”

- Locate to Setting at the top right corner